TUTORIAL: Combining Diffuse & Normal maps in Photoshop

Tutorials and discussions about Mapping - Introduce your own ones!
Post Reply
User avatar
fudgonaut
Adept
Posts: 363
Joined: Sat Oct 05, 2013 7:20 am
Personal rank: Easy Target
Location: "The Butthole of the World"
Contact:

TUTORIAL: Combining Diffuse & Normal maps in Photoshop

Post by fudgonaut »

Combining normal & diffuse textures can produce better looking textures by adding highlights and shadows, which give the textures a sense of depth. Here are the source images so you can try this at home:

diffuse.png
normal.png

Once you become familiar with the process, I highly recommend automating as many steps as possible using Photoshop Actions (macros). This will reduce errors and save lots of time if you're processing a lot of images.

STEPS

1.
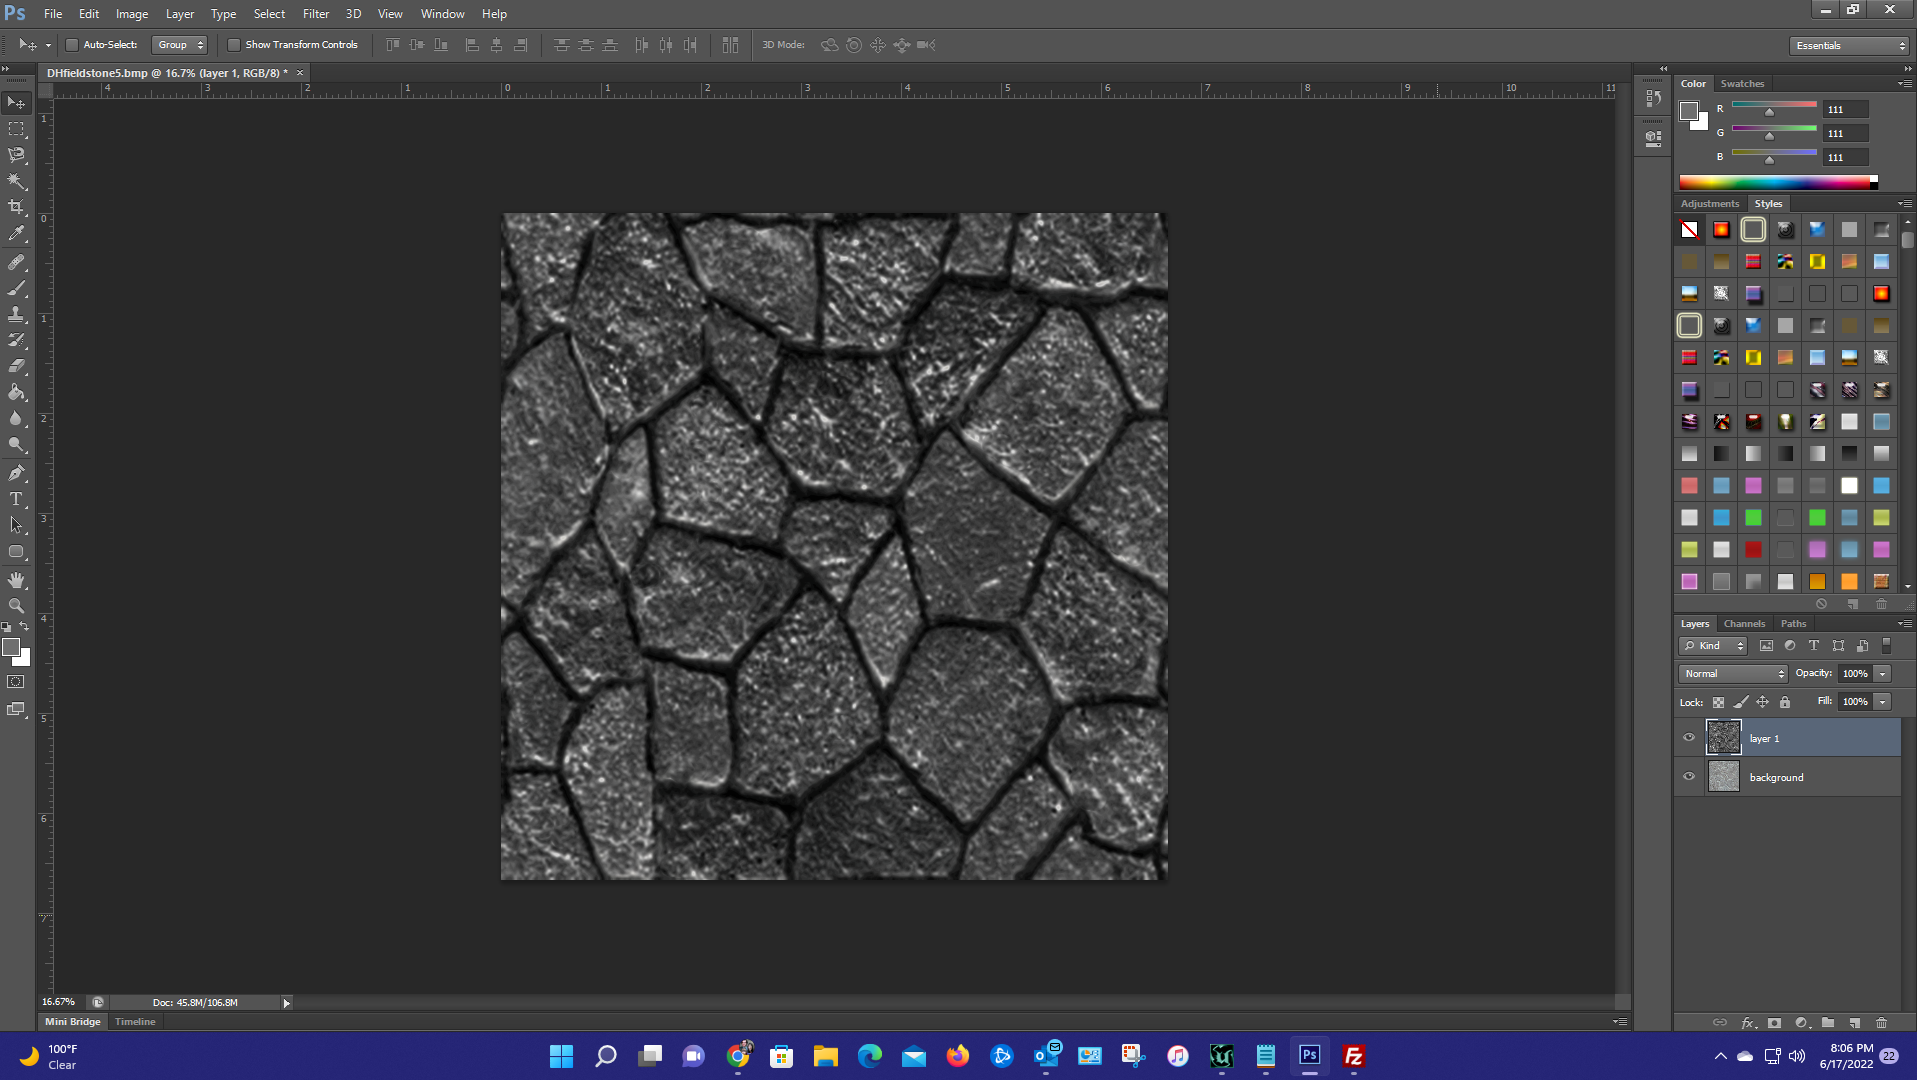
Open the normal and diffuse textures in Photoshop. Make sure they are the same resolution


2.
Go to the normal map (pink & blue texture), Ctrl + A to select all and Ctrl + C to copy


3.
Go to the diffuse texture, Ctrl + V to paste the normal layer on top of the diffuse texture
3-copy.png
3-copy.png (13.3 KiB) Viewed 5846 times
4.
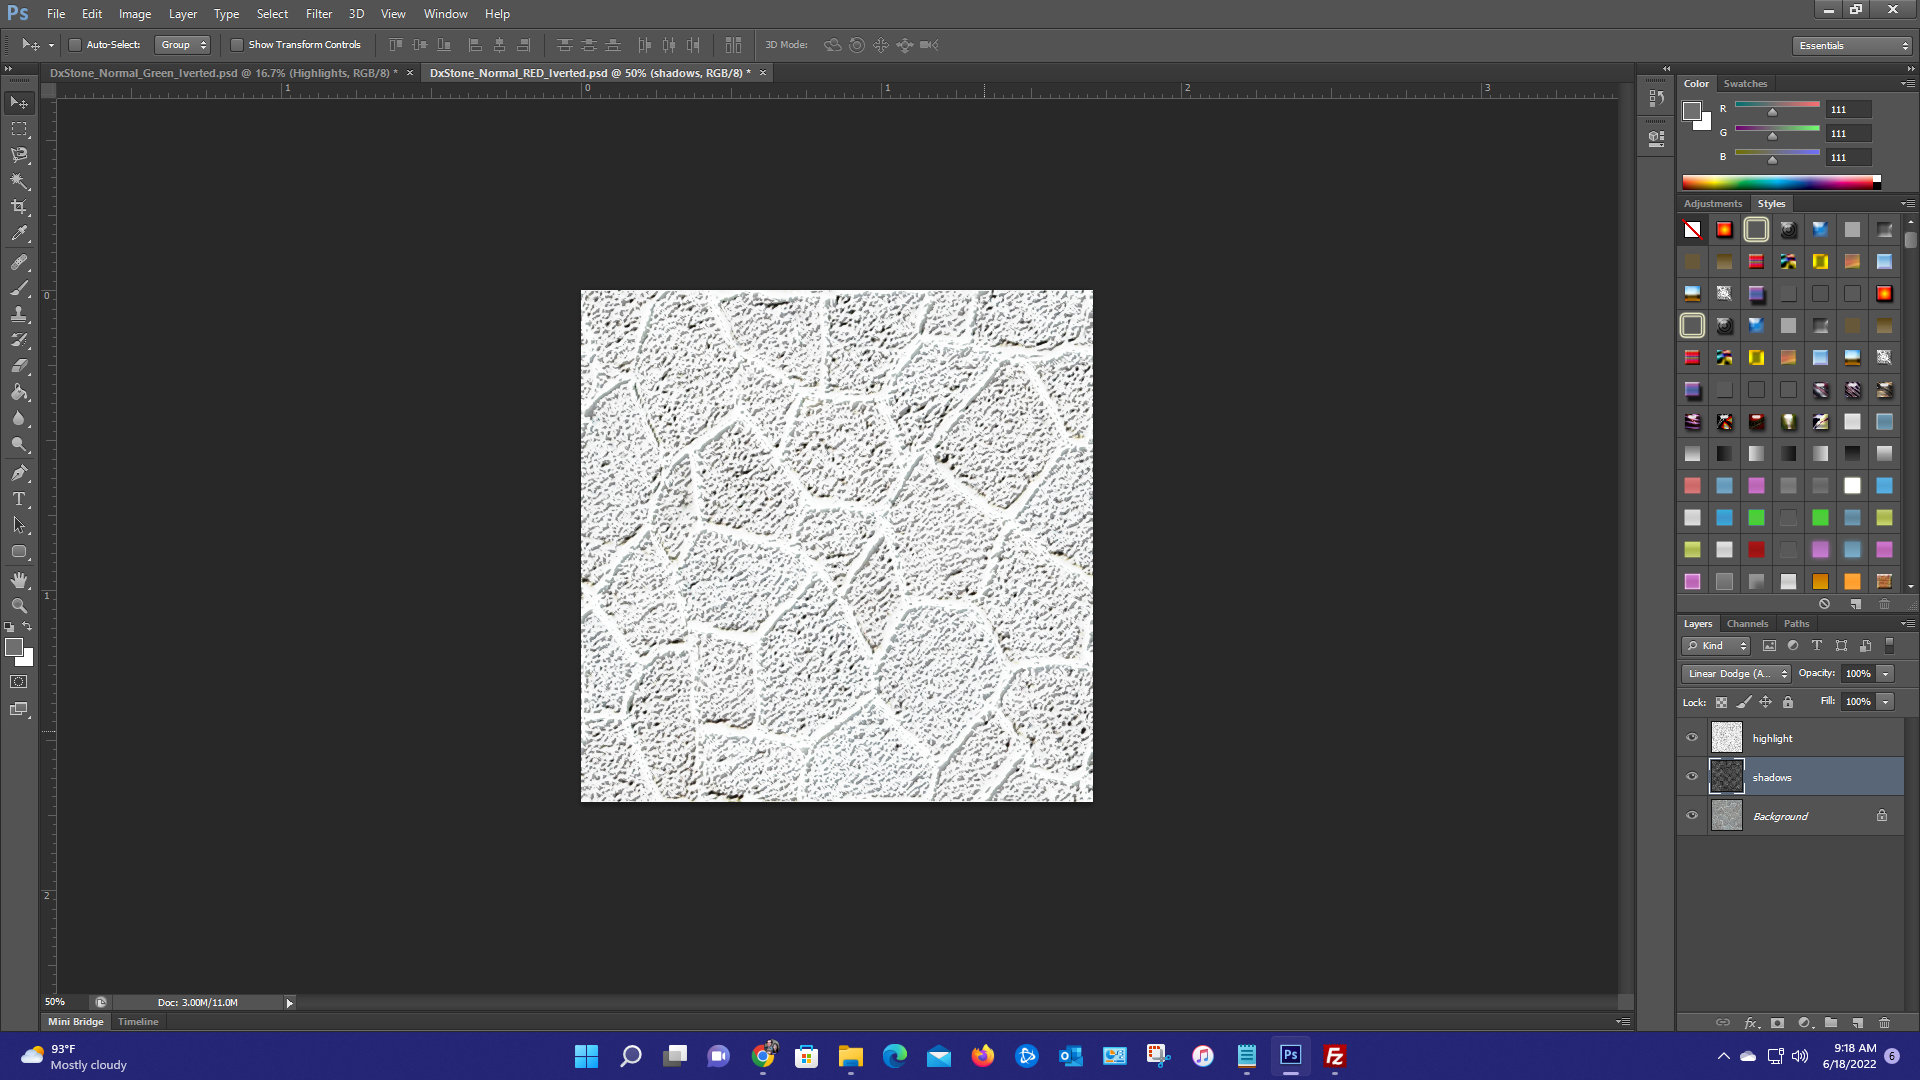
(Here you can start recording a Photoshop Action, call it 'Highlights')
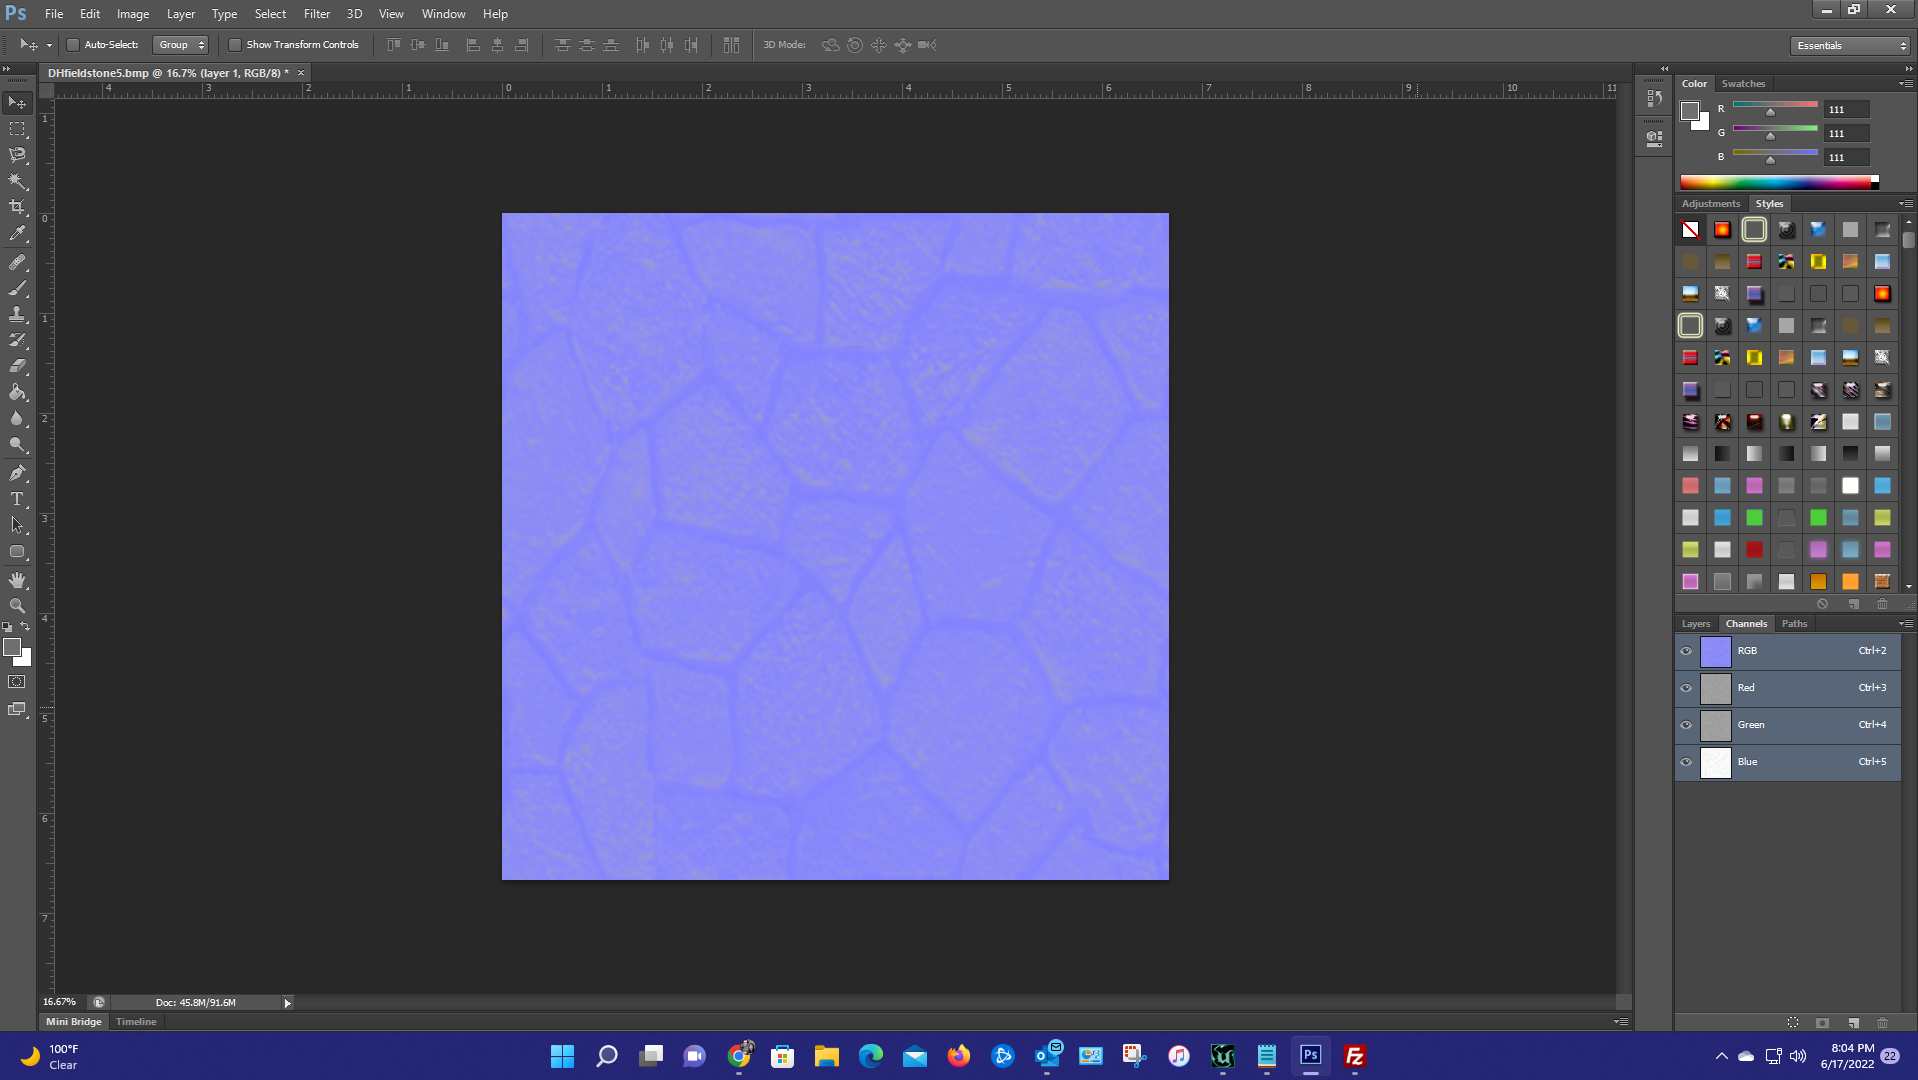
In the Layers window, select the Channels tab

Click on the Red channel, hit Crtl + I to invert
4a-red.png
4a-red.png (8.73 KiB) Viewed 5846 times
Now click on the Green Channel, hit Ctrl + I to invert
4b-green.png
4b-green.png (8.92 KiB) Viewed 5846 times
Click on the RGB channel so all channels are displaying
Click on the Layers tab


5.
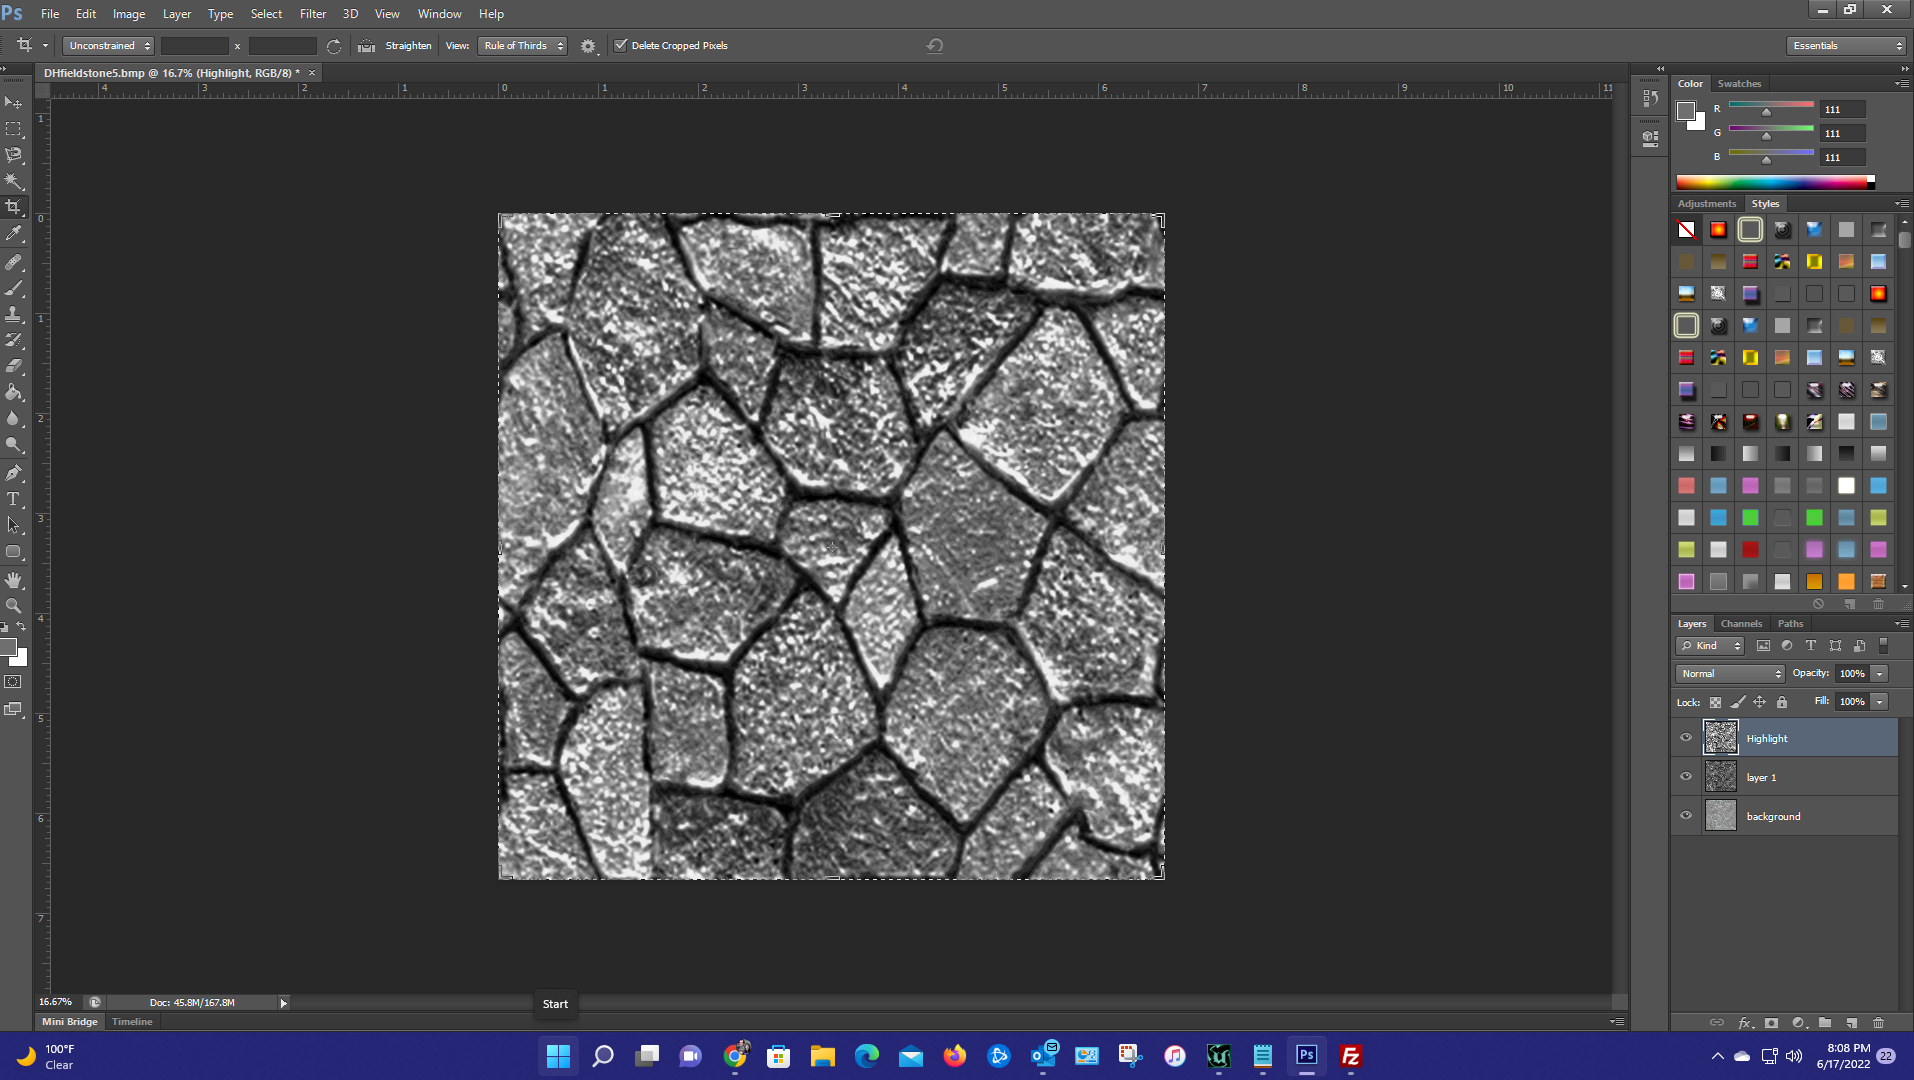
From the menu select -> Image -> Adjustments -> Channel Mixer
Check the 'Monochrome' checkbox and set the Red/Green/Blue values to 50/50/0
5-channelmix.png
Click OK. The normal map will now be in grayscale.


6.
From the menu select -> Image -> Adjustments -> Auto Contrast
Or hit Alt + Shft + Crtl + L


7.
Duplicate the layer. This duplicate (Layer 1 copy) will be your Highlight Layer. Rename the layer to 'Highlights' if you wish


8.
From the menu select -> Image -> Adjustments -> Levels
8-levels.png
8-levels.png (14.89 KiB) Viewed 5846 times
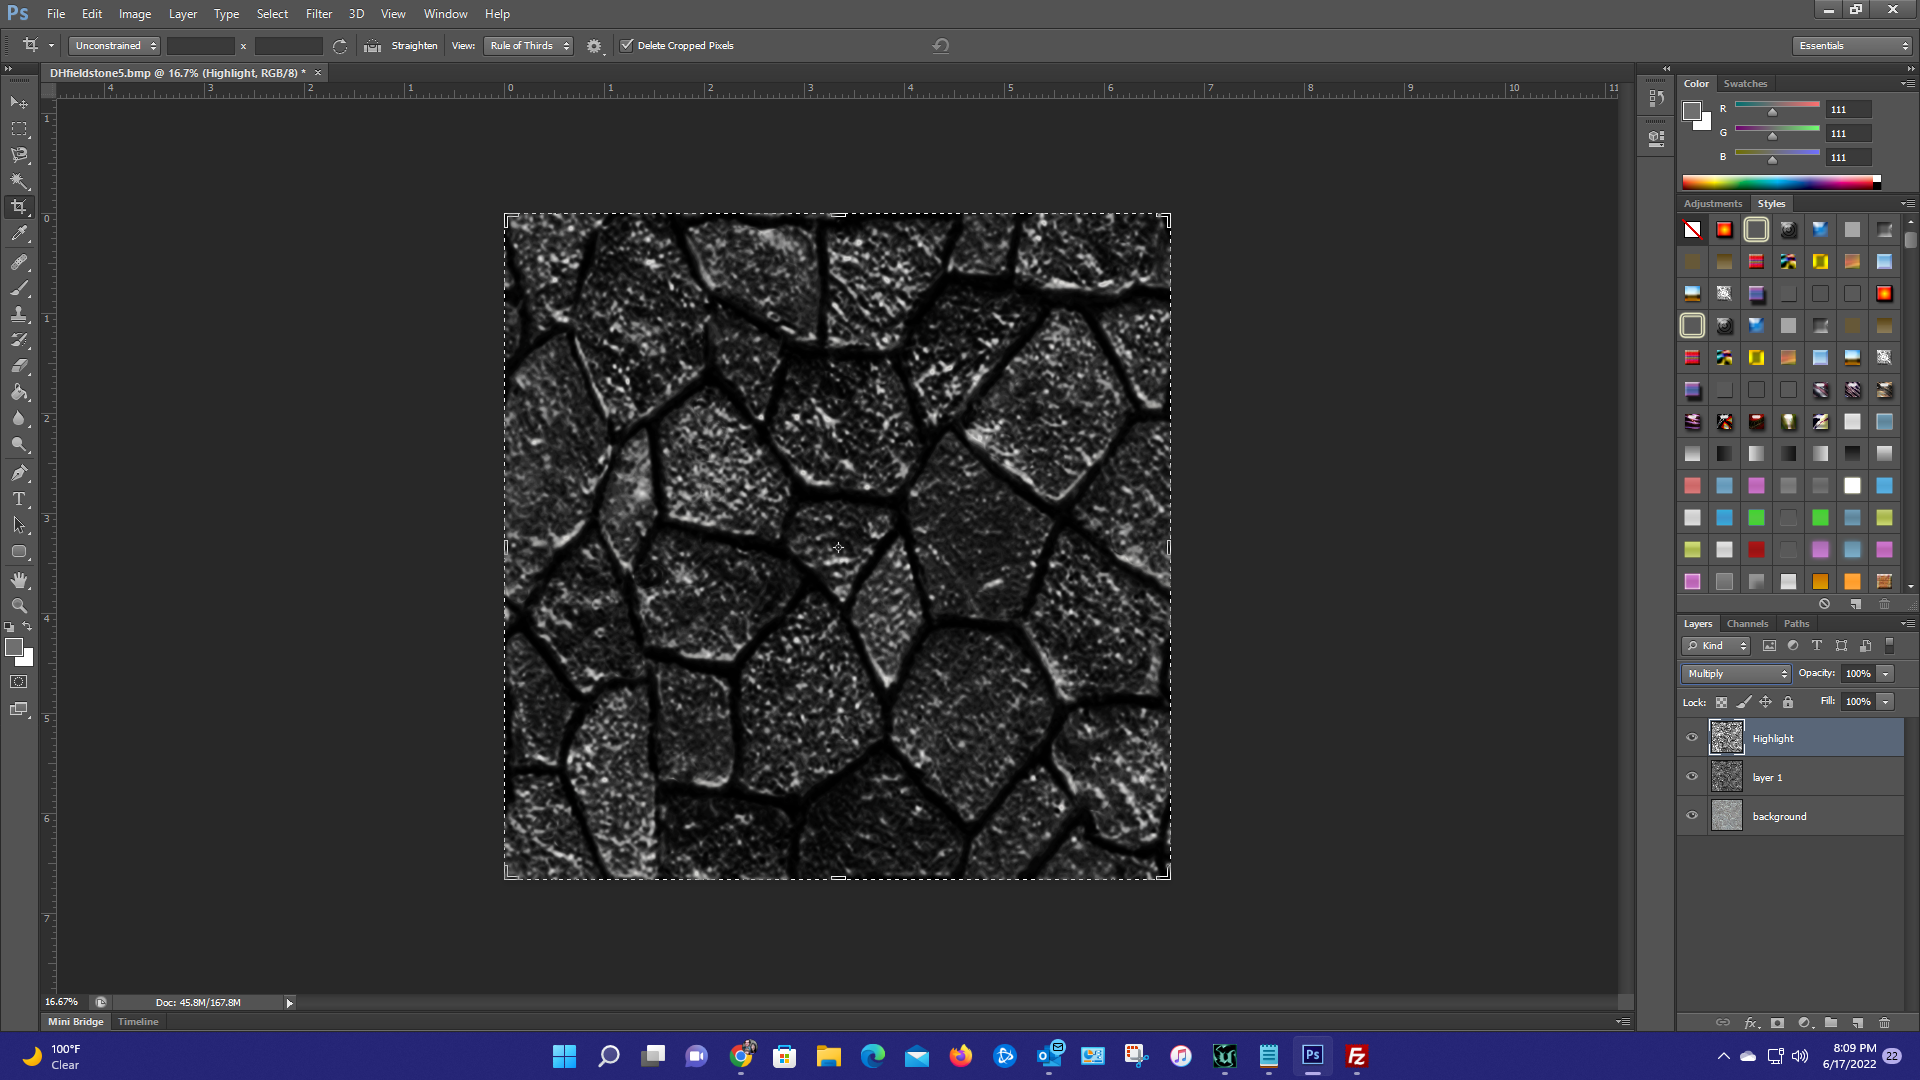
And change the Input Levels to 0, 1.0, 128


9.
Set this layer's blending mode to Linear Dodge (Add)
9-linear-dodge.gif
9-linear-dodge.gif (9.69 KiB) Viewed 5737 times
(Here is where you stop recording 'Highlights')
Hide this layer for now
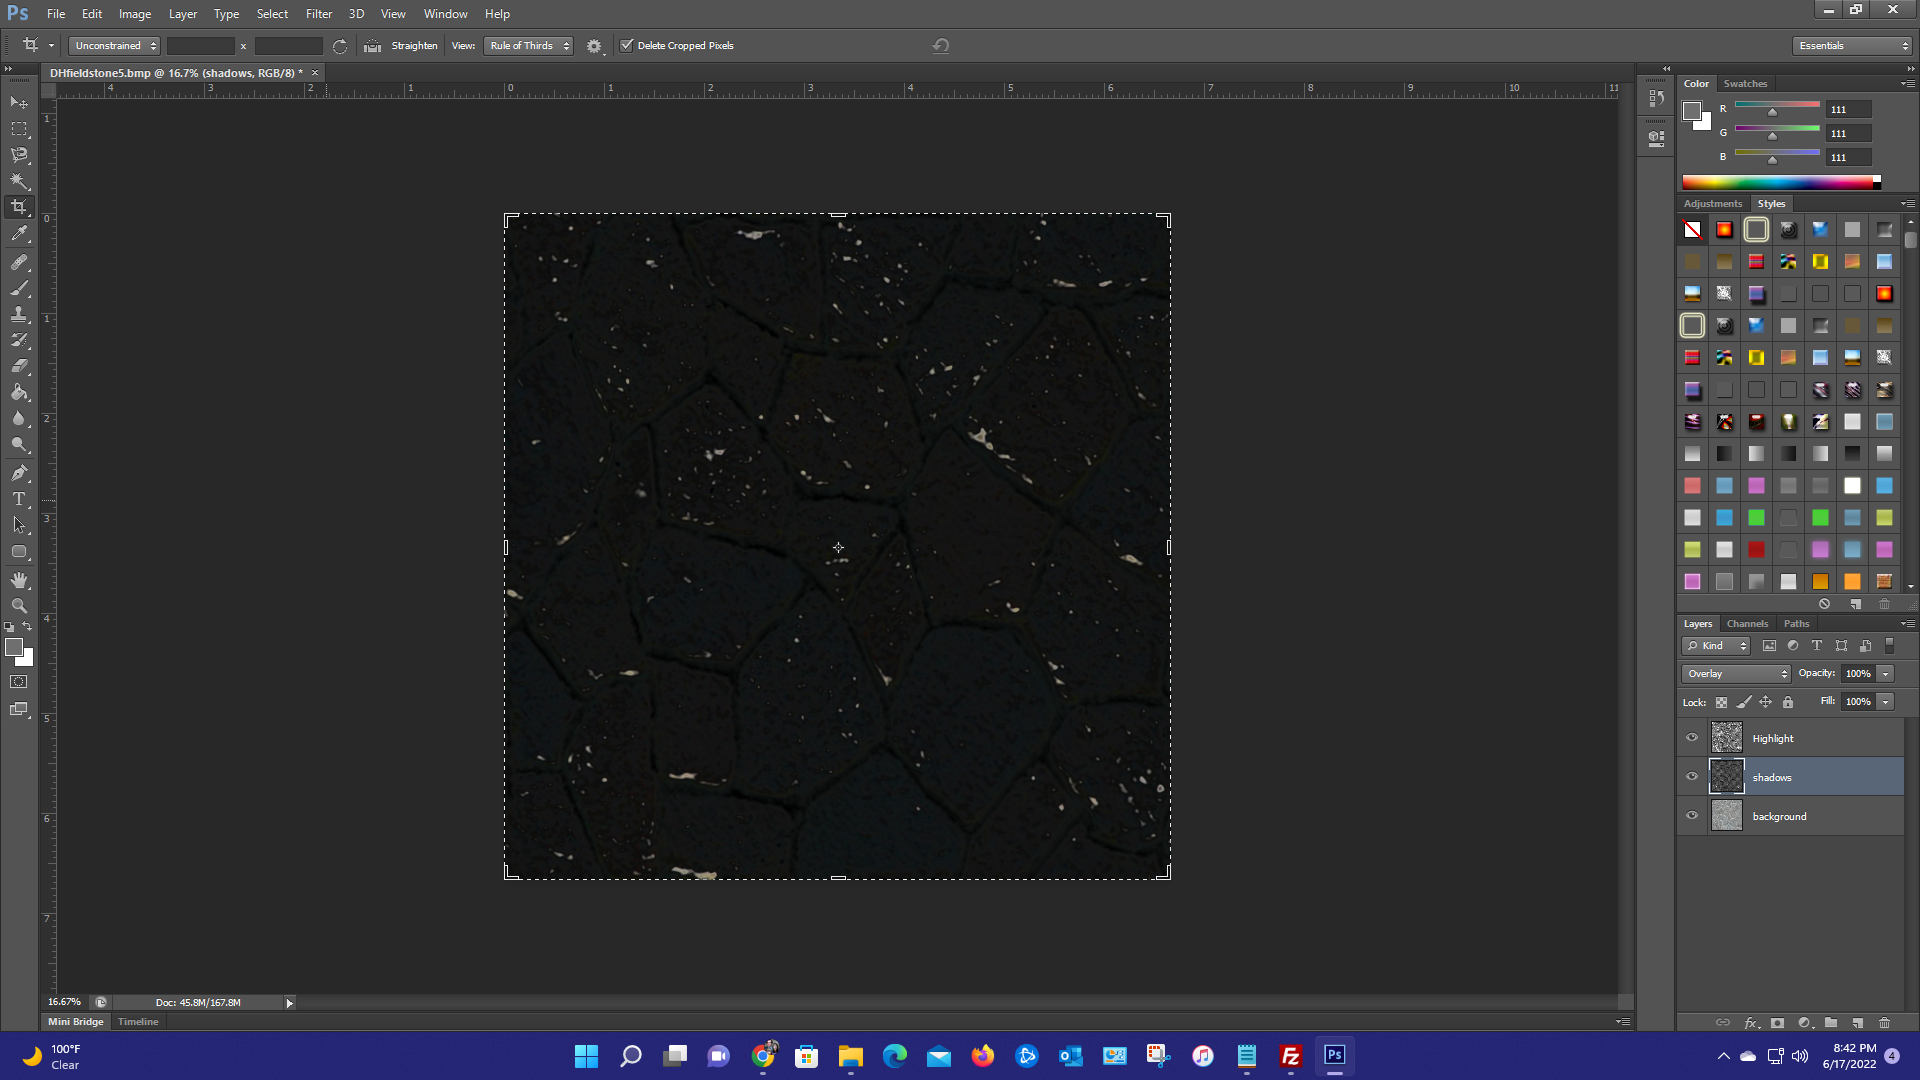

10.
Select the other black & white layer, this will be your Shadows layer. Rename the layer to 'Shadows' if you wish
(Here you can create a Photoshop Action, call it 'Shadows')


10.
From the menu select -> Image -> Adjustments -> Levels
And change the Input Levels to 128, 1.0, 255

11.
Set the Shadow layer's blending mode to Overlay
(Here is where you stop recording 'Shadows')

12.
Unhide the Highlights layer. It should be looking pretty good now.


From here you can make any final adjustments before exporting the image.
I created Photoshop actions for each of these so I can perform them in one click
Photoshop Actions are your friend. Its worth your time to learn them if you plan on working on a lot of texture files.

13-actions.png

13.
Sometimes I will add a little color saturation, hit Ctrl + U
Saturation +10%

14.
Or slightly increase/decrease brightness
From the menu select -> Image -> Adjustments -> Brightness/Contrast
Brightness +/-15%

15.
On the Diffuse layer i like to add a small amount of noise
From the menu select -> Filter -> Noise -> Add Noise
(Amount 0.7%, Uniform, Monochromatic)

16.
Then I apply a subtle sharpening
From the menu select -> Filter -> Sharpen -> Smart Sharpen
(Amount: 50%, radius 1px, reduce noise 0, Gaussian Blur)


17.
If the images is large, I will flatten and resize
From the menu select -> Image -> Layer -> Flatten Image
Ctrl + Alt + I
Resize to 256x256, or to whatever your needs are.


18.
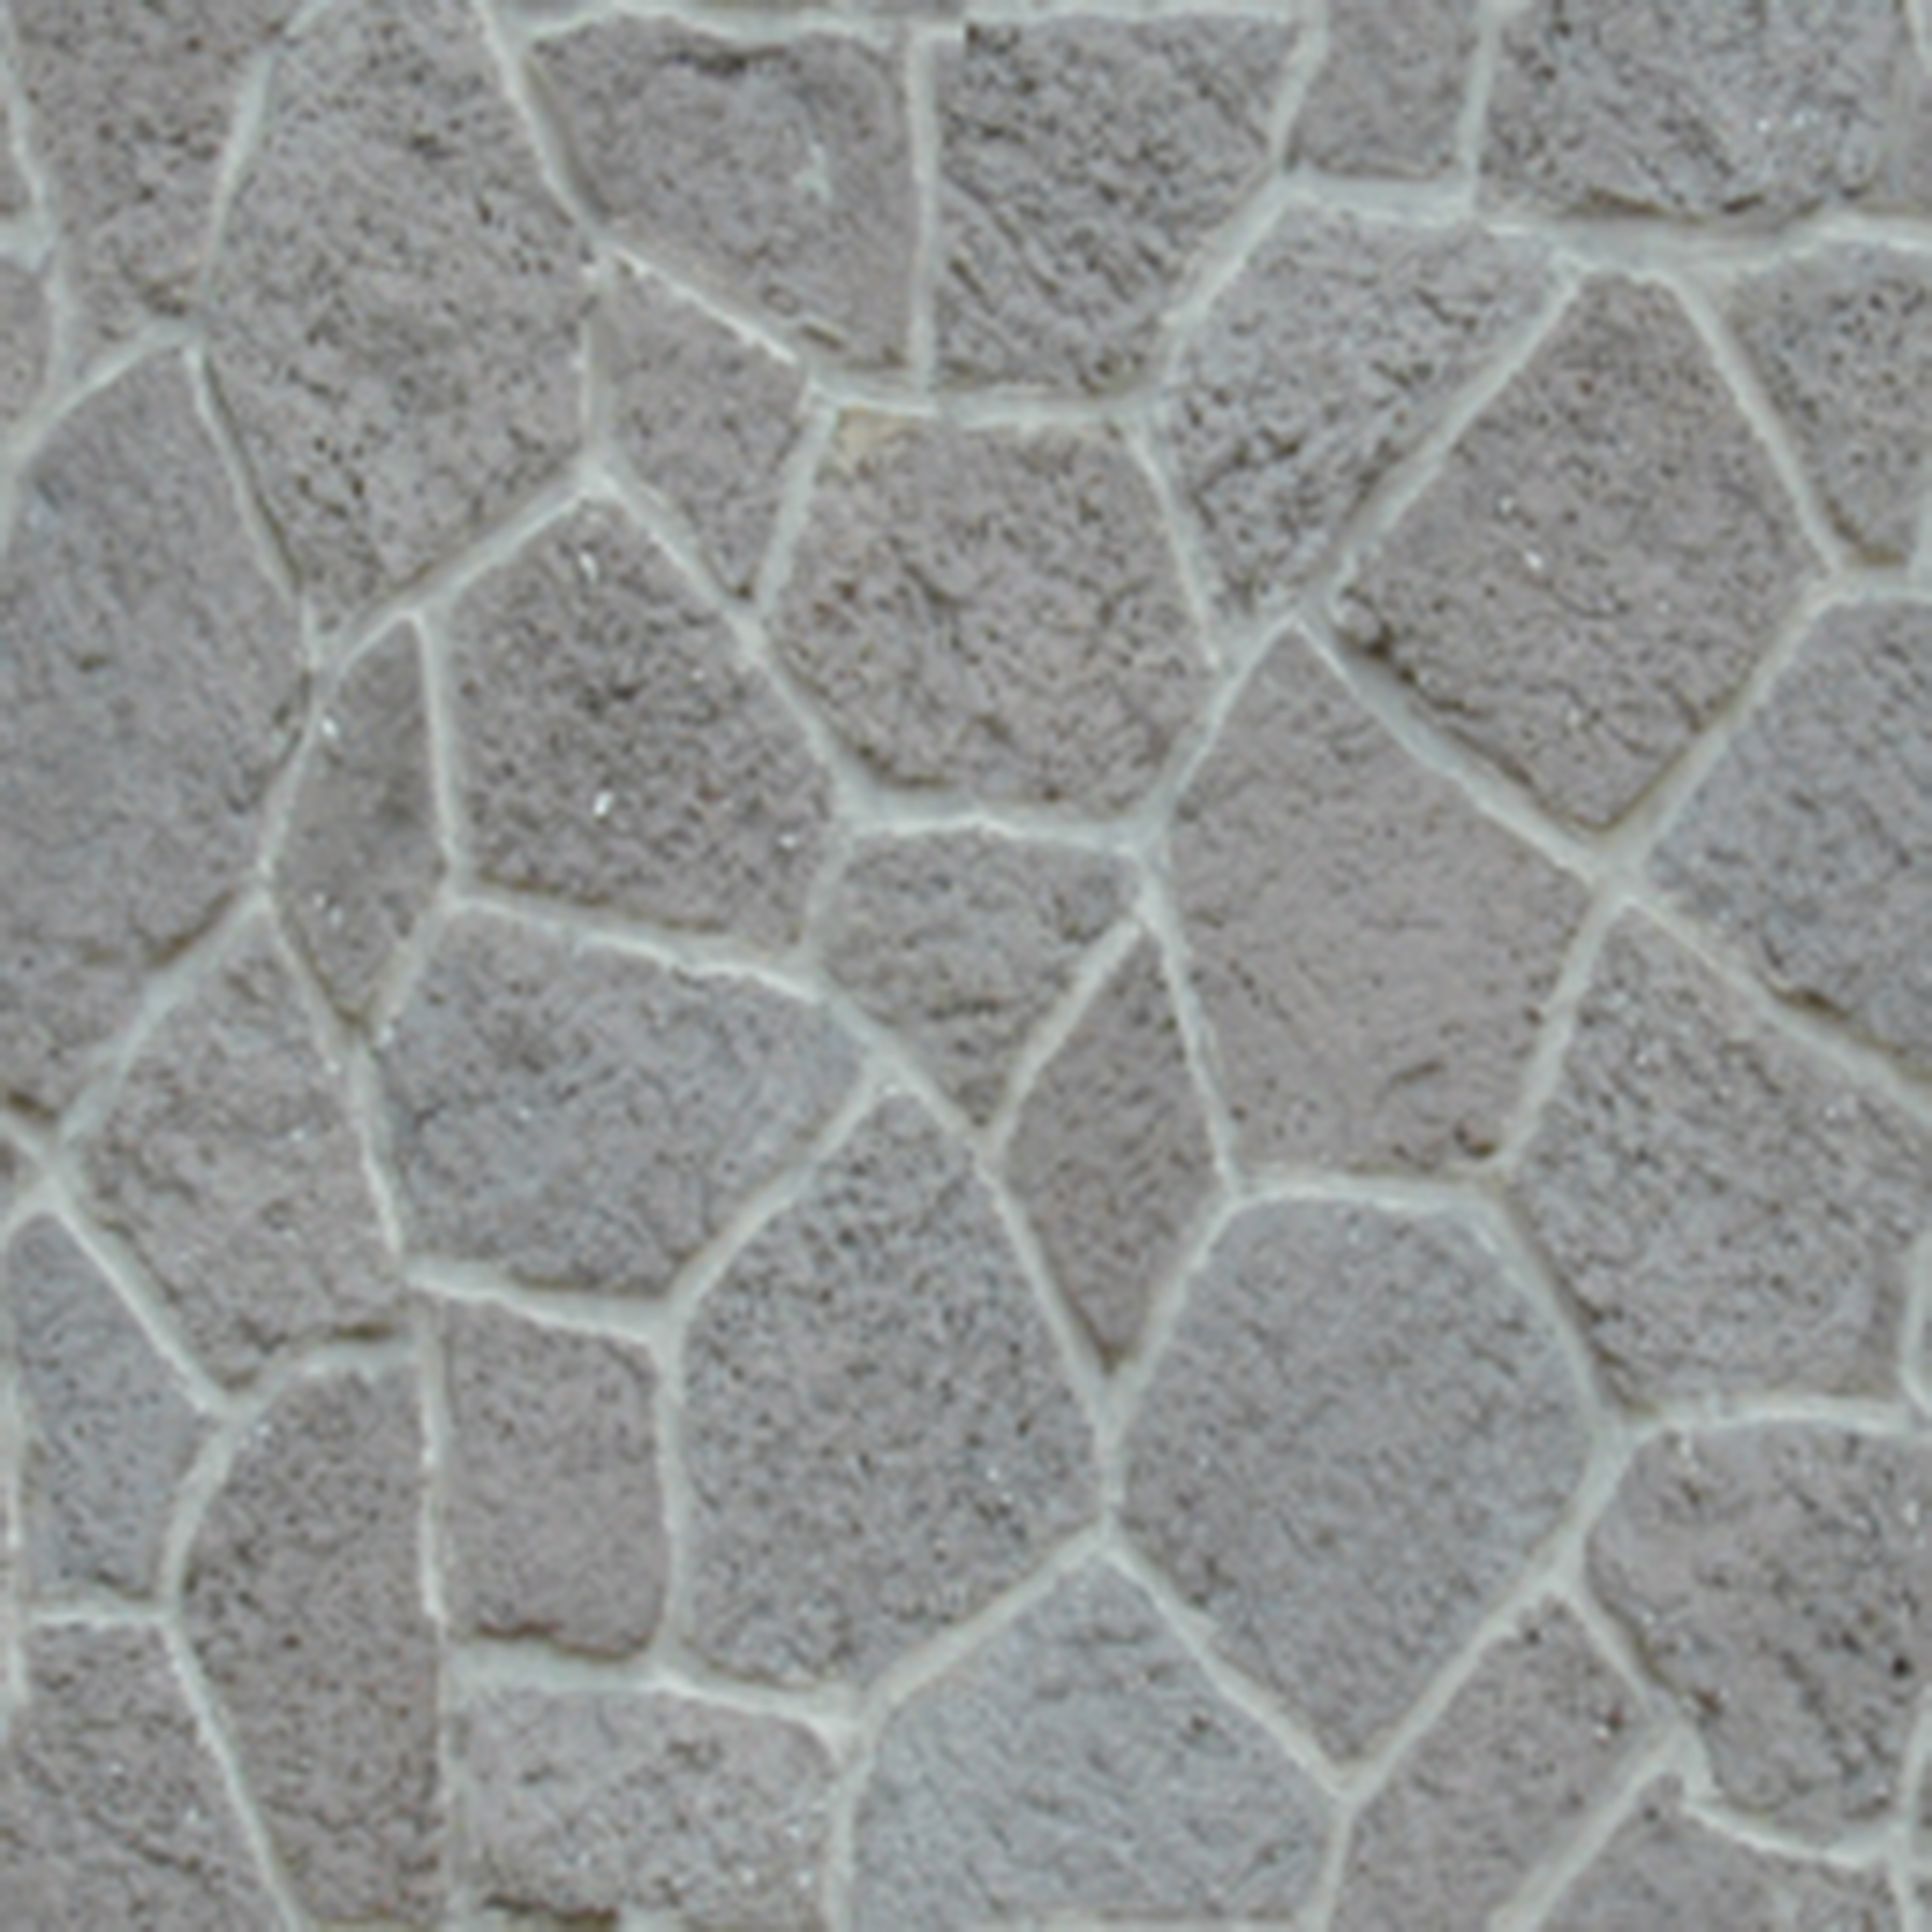
I take one final look at the texture. Sometimes I will do the noise + sharpening steps one more time to add a little 'grit' to the texture. The final product:
result.png
result.png (134.86 KiB) Viewed 5846 times

19.
Then save the texure to whatever format you prefer before importing into UnrealEd

I highly recommend using .tga in concert with Bright183 to batch process all textures to foolproof .pcx files.


ADDITIONAL NOTE: Sometimes artists generate normal maps differently. You may end up with a final texture where the shadows seem reversed, like in the PK01 texure set by PhilipK. If this is the case start back at step 4, and do not invert the green channel. If the result doesn't look right, go back to step 4 and don't invert the red channel. If your processed texture still doesn't look right, go back and don't invert either channel.
Last edited by fudgonaut on Sat Jun 18, 2022 12:01 pm, edited 3 times in total.
User avatar
[NBK]DxTrEm3Fx
Adept
Posts: 259
Joined: Wed May 09, 2012 5:56 pm
Location: Glendale, AZ
Contact:

Re: TUTORIAL: Combining Diffuse & Normal maps in Photoshop

Post by [NBK]DxTrEm3Fx »

At item 13 what layer are you adding the adjustments 13-16 to?
Image
Image
User avatar
fudgonaut
Adept
Posts: 363
Joined: Sat Oct 05, 2013 7:20 am
Personal rank: Easy Target
Location: "The Butthole of the World"
Contact:

Re: TUTORIAL: Combining Diffuse & Normal maps in Photoshop

Post by fudgonaut »

[NBK]DxTrEm3Fx wrote: Sat Jun 04, 2022 12:55 amAt item 13 what layer are you adding the adjustments 13-16 to?
In almost all cases I am applying steps 13-16 to the diffuse layer, particularly the noise/sharpen combo

There have been a few instances where I've adjusted brightness/contrast on the shadow or highlight layer.

Your mileage may vary.
User avatar
[NBK]DxTrEm3Fx
Adept
Posts: 259
Joined: Wed May 09, 2012 5:56 pm
Location: Glendale, AZ
Contact:

Re: TUTORIAL: Combining Diffuse & Normal maps in Photoshop

Post by [NBK]DxTrEm3Fx »

Hello Fudgonaut,
What are you using to create your normal maps? Some versions of PS have an option under the filter to create a bump and height map. I'm using CS6 and I do not see that option. So I have downloaded the Nvidia photoshop plugin that will allow you to make a normal. Not sure if I'm using the correct settings for creating the normal. My end result is less than desirable. So I'm not sure if it's my normal map or what or if it's just a shitty texture, to begin with. The final product looks like it will have holes in it besides it being incorrect.
Image
Image
Image
Image
Image
Image
Image
Image
Image
User avatar
fudgonaut
Adept
Posts: 363
Joined: Sat Oct 05, 2013 7:20 am
Personal rank: Easy Target
Location: "The Butthole of the World"
Contact:

Re: TUTORIAL: Combining Diffuse & Normal maps in Photoshop

Post by fudgonaut »

[NBK]DxTrEm3Fx wrote: Sat Jun 18, 2022 4:48 amMy end result is less than desirable
That's because I am an idiot. :facepalm:
For your shadows layer, set the blending mode to Linear Dodge(Add), not Multiply.
I have updated the tutorial accordingly.

Please try it out and let me know if your results improve. Please accept my apologies for any undue frustration on your part!


Side note: As long as you're careful, you can actually record all of the tutorial steps into a single Photoshop Action instead of having a Highlights action and a Shadows action.
User avatar
[NBK]DxTrEm3Fx
Adept
Posts: 259
Joined: Wed May 09, 2012 5:56 pm
Location: Glendale, AZ
Contact:

Re: TUTORIAL: Combining Diffuse & Normal maps in Photoshop

Post by [NBK]DxTrEm3Fx »

This is the best result I could come up with. And either Red or Green (doesn't matter which) not inverted and using Overlay for both the Highlight and shadow layer. If I use Linear Dodge(Add) on the shadow layer I get just a white texture that is not correct. So not sure where I'm going wrong.
This is kind of a satisfactory result.
Image
Image
Image

This is the green channel not inverted and the Shadow layer is set to Linear Dodge(Add).
Image

If you're interested in trying it out. Here is my texture it is 600 RES 4000x4000 pixels 45MB lol.
http://dxfxhouse.com/images/DXStone1.bmp
Image
Image
User avatar
fudgonaut
Adept
Posts: 363
Joined: Sat Oct 05, 2013 7:20 am
Personal rank: Easy Target
Location: "The Butthole of the World"
Contact:

Re: TUTORIAL: Combining Diffuse & Normal maps in Photoshop

Post by fudgonaut »

[NBK]DxTrEm3Fx wrote: Sat Jun 18, 2022 5:27 pm If you're interested in trying it out. Here is my texture it is 600 RES 4000x4000 pixels 45MB lol.
Yikes! Whay are you working with files that big? :shock:

Download and unzip this photoshop action
ProcessNormals.zip
(1.31 KiB) Downloaded 81 times
Put the .atn file here (changing Usrename to the correct name):
C:/Users/Username/AppData/Roaming/Adobe/Adobe Photoshop/Presets/Actions

Start photoshop and see if the action ProcessNormals is listed. If it is, do this:

Open your diffuse texture (to test, you can use the exmple files in the first post).
Open your normal texture, do ctrl+A and ctrl+C (select all and copy)
Go pack to your diffuse texture and ctrl+V to paste the normal. The normal layer should be names Layer 1

Now run the Process Normal action.

Did it work?
User avatar
[NBK]DxTrEm3Fx
Adept
Posts: 259
Joined: Wed May 09, 2012 5:56 pm
Location: Glendale, AZ
Contact:

Re: TUTORIAL: Combining Diffuse & Normal maps in Photoshop

Post by [NBK]DxTrEm3Fx »

Yes, the action works perfectly with the textures you provided. I appreciate your help. I'm trying to get it to work with the textures I'm creating my own normal map.
Image
Image
User avatar
fudgonaut
Adept
Posts: 363
Joined: Sat Oct 05, 2013 7:20 am
Personal rank: Easy Target
Location: "The Butthole of the World"
Contact:

Re: TUTORIAL: Combining Diffuse & Normal maps in Photoshop

Post by fudgonaut »

[NBK]DxTrEm3Fx wrote: Sat Jun 18, 2022 11:44 pm I'm trying to get it to work with the textures I'm creating my own normal map.
The quality of the normal map is the key. Procedurally-generated normal maps are probably never going to yield as good results as ones that have been made by hand.

But that's a lot of time and work. For automated normal maps, you may have better luck with a program like Materialize, which is free and a lot newer (so theoretically more advanced/better) than the Nvidia plugin for CS6
User avatar
[NBK]DxTrEm3Fx
Adept
Posts: 259
Joined: Wed May 09, 2012 5:56 pm
Location: Glendale, AZ
Contact:

Re: TUTORIAL: Combining Diffuse & Normal maps in Photoshop

Post by [NBK]DxTrEm3Fx »

fudgonaut wrote: Sun Jun 19, 2022 3:39 am
[NBK]DxTrEm3Fx wrote: Sat Jun 18, 2022 11:44 pm I'm trying to get it to work with the textures I'm creating my own normal map.
The quality of the normal map is the key. Procedurally-generated normal maps are probably never going to yield as good results as ones that have been made by hand.

But that's a lot of time and work. For automated normal maps, you may have better luck with a program like Materialize, which is free and a lot newer (so theoretically more advanced/better) than the Nvidia plugin for CS6
Materialize works great thank you for the info.
Image
Image
Post Reply