If you don't know how to do this, check the previous lesson here: Lesson 1 - Your first mutator
________________________________________________________________________________________________________________________
In this lesson we're going to make a new custom simple trigger that can be used in your maps:
- When it's triggered, it will broadcast a message to all players;
- This message can be customized by the mapper in the Unreal Editor.
1 - Start by creating a new package (the same way you did in the previous lesson), but this time we're going to name it MyFirstTrigger.
2 - Next create a new .uc file in the Classes folder. We're going to call it MyTrigger.
3 - Since it's a trigger, the class declaration will be written as follows:
Code: Select all
class MyTrigger extends Triggers;4 - Next, we create the property the mapper will be able to see and change, in order to write his/her own custom message, as:
Code: Select all
var() string MyMessage;() next to var indicates that this property can be seen and edited from Unreal Editor, or in other words, it can be seen and edited by the mapper once placed in the map.
string indicates that this property will store text in it (since a message is text after all).
MyMessage is the name we chose to call this new variable. Therefore this property will be seen as MyMessage in the Unreal Editor.
5 - When actors are triggered, the function Trigger(Actor Other, Pawn EventInstigator) is called, therefore this is the function you're going to use for every custom actor you want to have a custom behavior when triggered.
In this case, when triggered we want to broadcast the message stored in the MyMessage property we created above:
Code: Select all
function Trigger(Actor Other, Pawn EventInstigator)
{
   BroadcastMessage(MyMessage);
}
6 - Since you created a new property, it's good practice (sometimes necessary) to define its default value, or in other words, the text it will have if the mapper does not edit this property.
In this case, the default text will be "Put your message here.".
To do so you must create a defaultproperties block at the end of the file, as:
Code: Select all
defaultproperties
{
   MyMessage="Put your message here."
}
var = value is wrong;
var=value is correct.
The value however can have spaces only if it's a string/text, but not new lines, just like in this case.
7 - In the end your class should look like this:

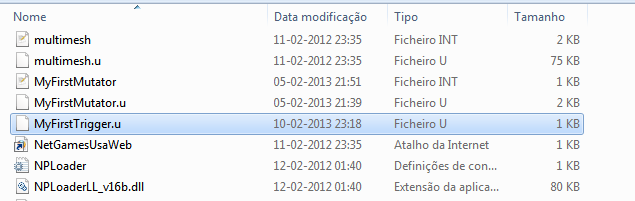
8 - Save and compile the package, so in the end you get a MyFirstTrigger.u file in your System folder in your Unreal Tournament install.
9 - Unlike the previous lesson, in this case we do not need to create a .int file, since a trigger is something that is only used in a map.
Therefore, the map itself will tell the game to load up the package when needed.
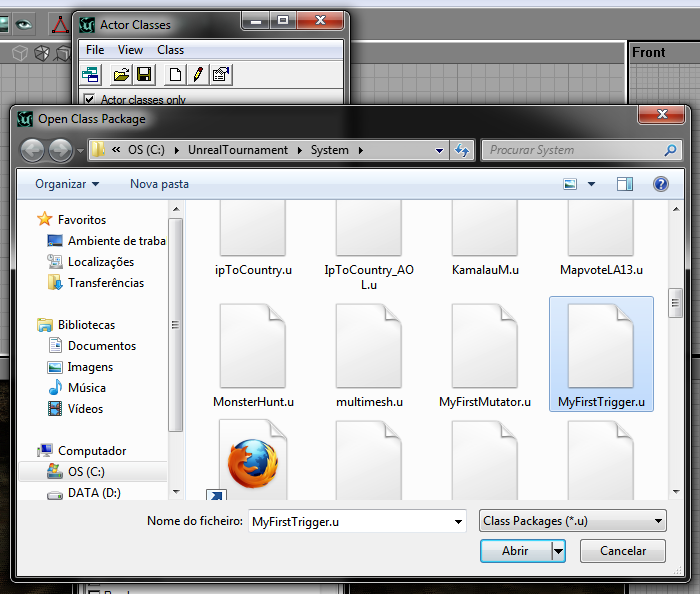
10 - From here, just open Unreal Editor and open an existing map or create your own, and load up the MyFirstTrigger.u package into the editor.
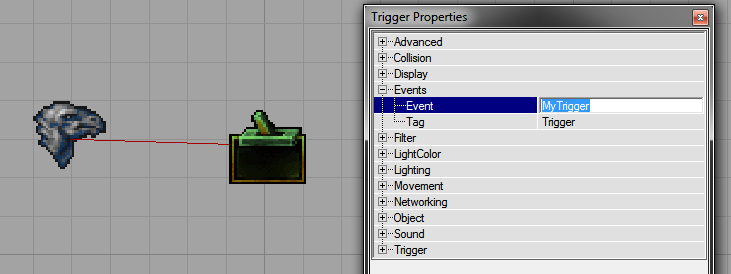
11 - Now, just add this MyTrigger somewhere in your map, and another standard trigger too.
The standard trigger will activate your MyTrigger, therefore set the standard trigger Event to the Tag of MyTrigger.

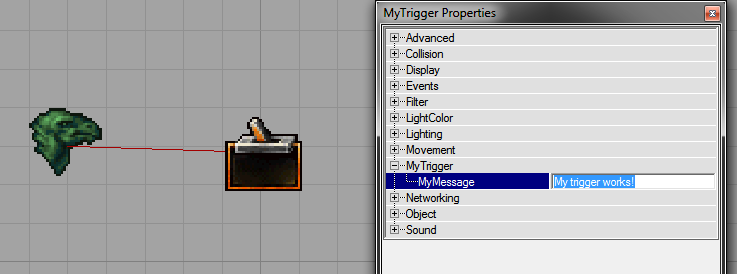
12 - After that, you need to setup the message your want to display, therefore open the MyTrigger properties, look for the category also called MyTrigger, and find the property MyMessage that we defined.
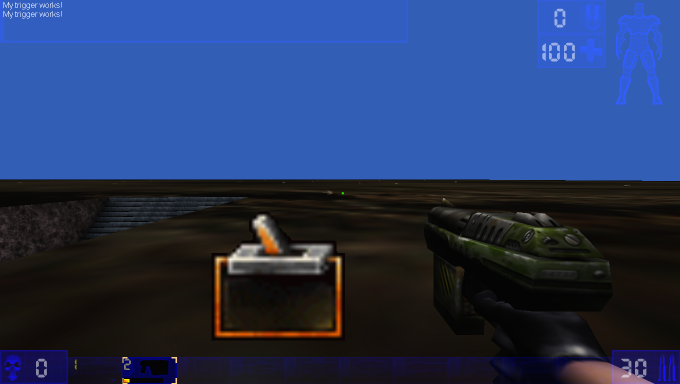
Just write there anything you want. In this example I chose "My trigger works!".
13 - Save the map, play it and try it out.
NOTE: If you opened an existing map just for testing purposes, save it with another name: for example, if you open CTF-Face to do this experiment, save it as CTF-Face_MyTrigger or something else.

________________________________________________________________________________________________________________________
You can download the source and compiled package used in this lesson here:
Source: http://www.mediafire.com/?hnzrwrrwzgnn38z
Package: http://www.mediafire.com/?733g4asu3bbt29u
________________________________________________________________________________________________________________________